
Capsule Filling Machine Spare Parts: A Buying Guide
A capsule filler can stop for a part that looks insignificant. A worn capsule transfer fork may leave holes empty; a damaged module can affect separation or locking. Ordering a replacement by its name alone is risky, because parts that perform the same job may be made for different machines or capsule sizes. A useful spare-parts request starts with the fault, the machine identity, and the part's position in the process.
For an automatic hard-capsule filler, the main path runs from capsule feeding and separation through dosing, rejection, locking, and discharge. The NJP-1200 operation manual describes separate mechanisms at these stages. That distinction matters when deciding whether to clean and adjust an existing component, replace a worn item, or order a complete size-change set.
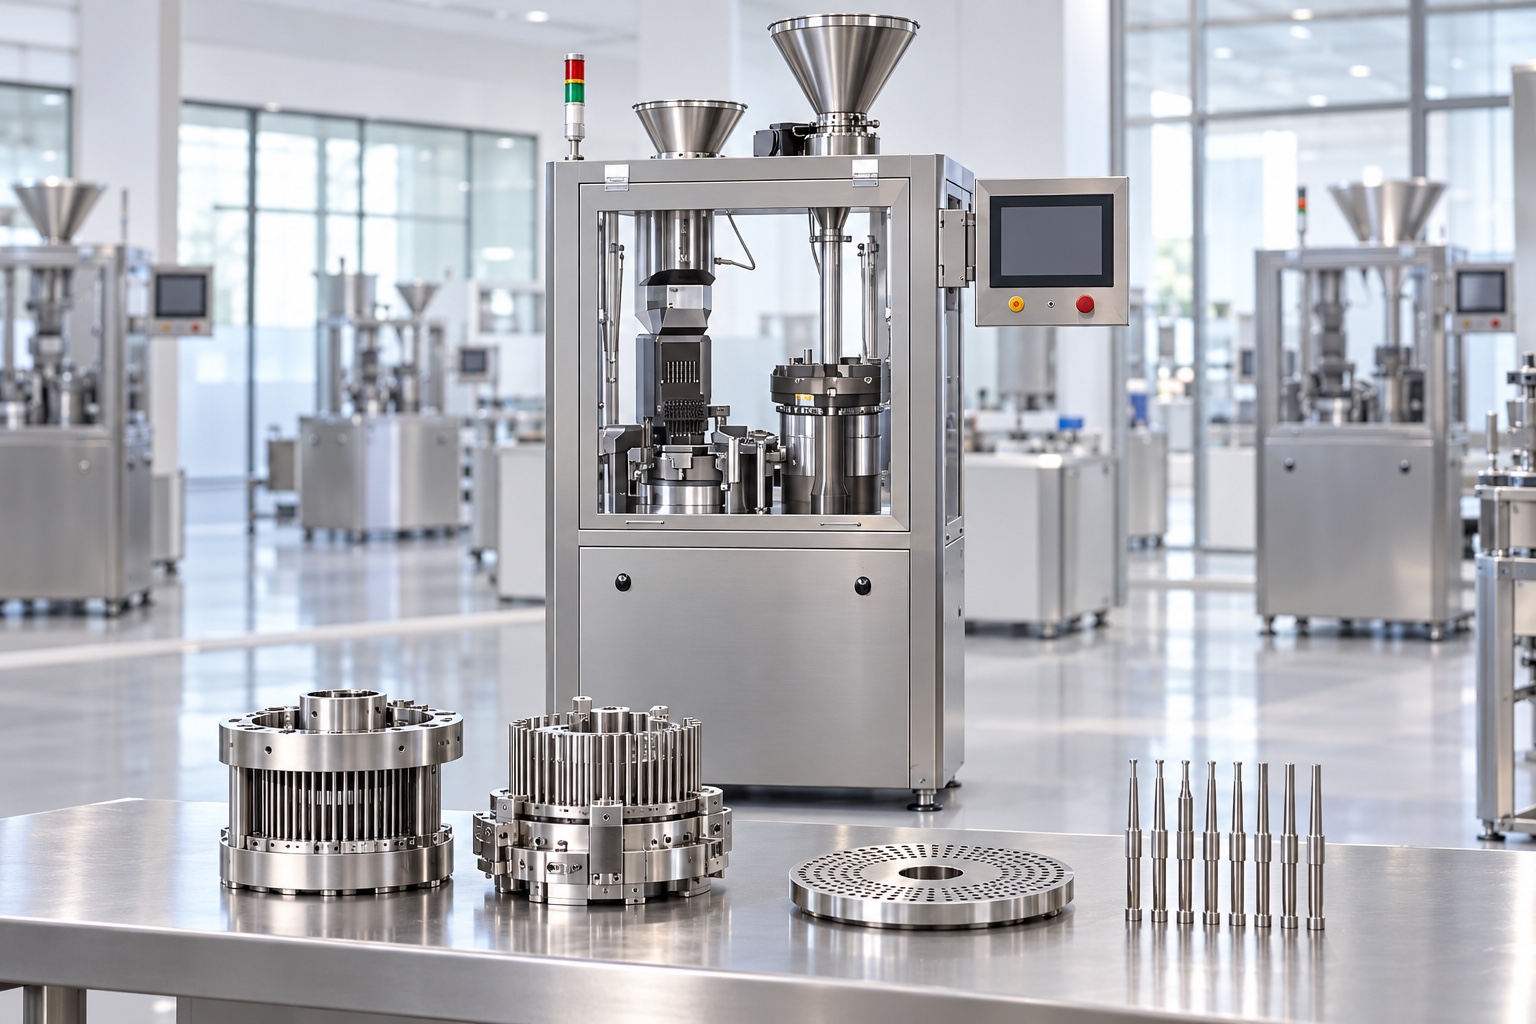
Which parts actually need replacing?
Capsule filling machine spare parts fall into two practical groups. The first consists of parts that may need replacement because of wear, damage, or a diagnosed fault. The second consists of change parts selected for a different capsule specification. The same component can belong to both groups, but the reason for ordering it should be clear.
For example, the NJP-1200 manual names upper and lower modules, horizontal and vertical forks, a correction block, filling rods, and a dose plate when changing capsule specifications. It also describes replacing damaged modules or a bent capsule pin when those faults are confirmed. If a machine has poor capsule separation, however, the manual also points to vacuum setting, dirt in module holes, blocked air holes, and alignment. A new module will not solve every separation problem.
Start with the affected station
When capsules fail to enter the module holes consistently, inspect the feeding and transfer path. The manual identifies the capsule funnel, baffle, capsule board, horizontal fork, vertical fork, and correction block around this stage. Check for an obstruction or an incorrect fork position before treating a low transfer rate as evidence of a broken part.
If caps and bodies do not separate cleanly, look at the vacuum path and the upper and lower modules. Dirt in module holes, capsule fragments in air holes, blocked vacuum lines, and poor module alignment are listed fault causes. Damage to a module is another possibility, but it should be confirmed by inspection. At the locking stage, a bent or badly positioned capsule pin, module wear, and misalignment can all produce defects. This station-by-station approach narrows the order to the component that actually needs attention.
Dosing parts deserve their own check. The manual describes a dose plate and filling rods in the powder-filling assembly. If a new plate is being considered for a different specification, confirm the matching rods and the required setup rather than assuming that the plate is a stand-alone swap. The manual calls for alignment during installation and notes that a thicker replacement plate may require an adjustment to the separation device.
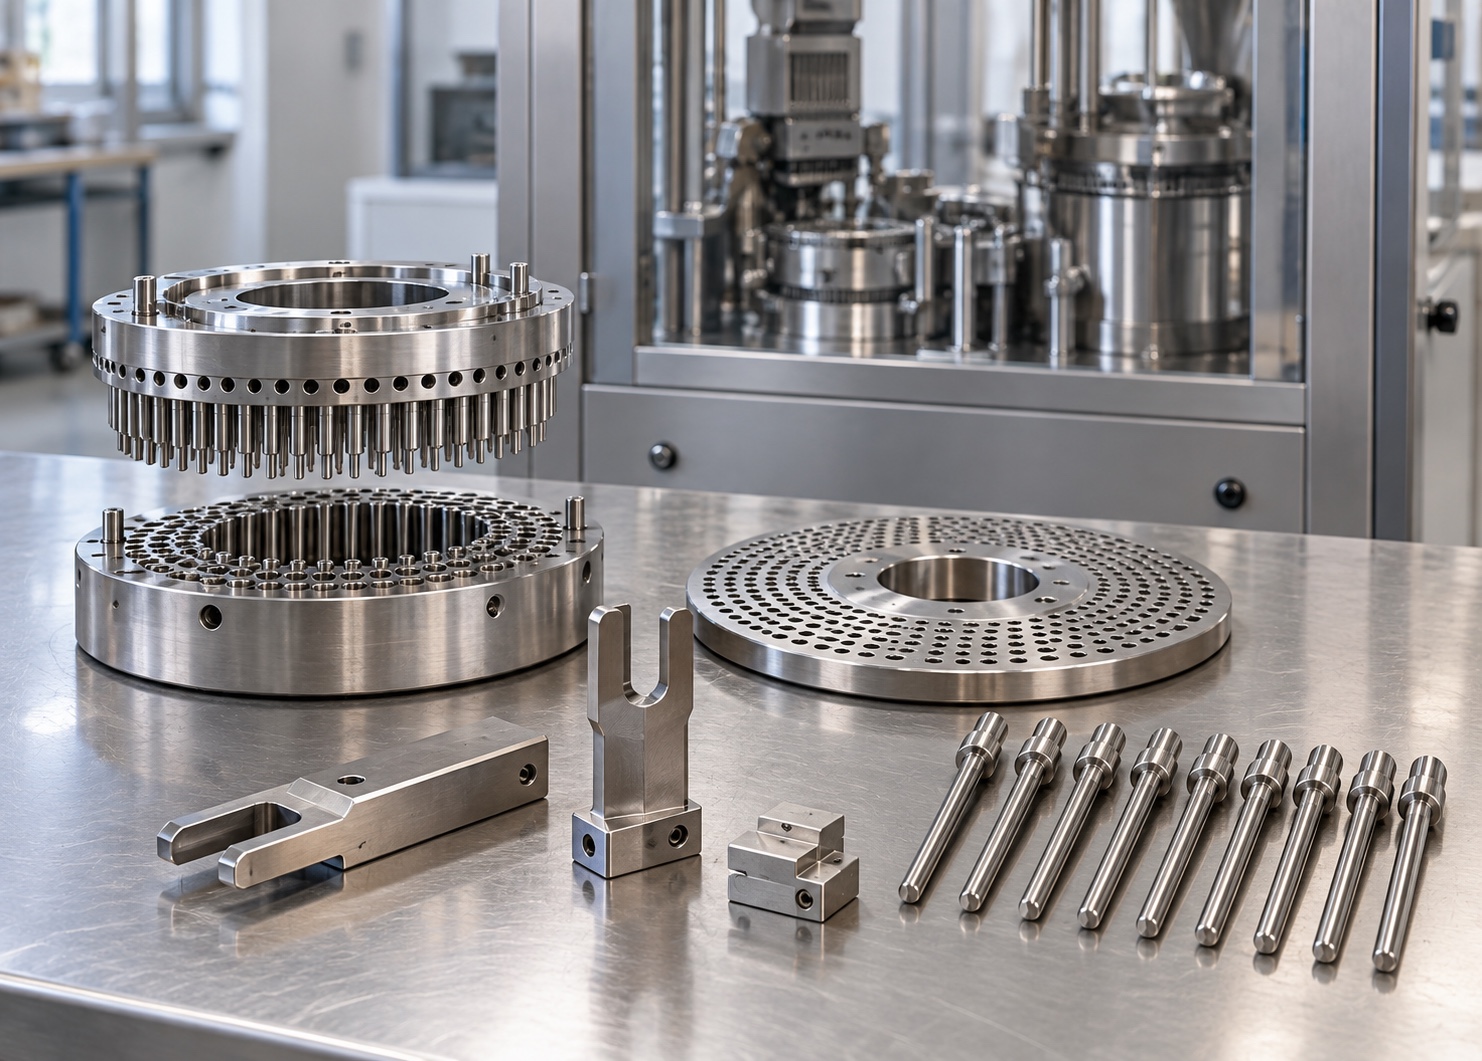
Size-change parts are a matched set
On the NJP-1200 described in its operation manual, changing the capsule specification involves the upper module, lower module, horizontal fork, vertical fork, correction block, filling rod, and dose plate. The precise set for another model should be verified against that model's documentation. Even within one machine family, a photo or a generic part name does not establish interchangeability.
After a module change, the manual calls for centering the upper and lower modules and checking that the adjustment rod moves freely in their holes. The rod must be removed before rotating the machine. After capsule-transfer parts are changed, empty capsules and the vacuum pump are used to check that transfer and separation work normally. These are setup checks, not optional details of the purchase: a correct part fitted out of position can look like a defective one.
What to include in a spare-parts inquiry
Record the exact model and machine serial information from the equipment plate, the capsule size being run, the part name and station, and the observed symptom. Add clear photographs of the removed part and its mounting position, including any visible markings. If the request concerns a size change, state the current and intended capsule specifications and ask for the complete matching change-part list. If it concerns a failure, describe the checks already made, such as cleaning, alignment, and vacuum-line inspection.
The machine's own assembly drawing or parts list should settle part identification. For a Fimachinery capsule filler, sending the equipment details with the inquiry gives the supplier a way to confirm fit before an order is placed. Do not assume that a component from a machine with a similar external cabinet fits its internal assembly.
Keep spares ready without guessing
Cleaning and inspection make an inventory more useful. The NJP-1200 manual calls for regular cleaning of parts that contact powder, especially when changing material or after extended downtime, and regular attention to the vacuum filter and transmission area. A clean removed part can be inspected for wear and stored with its model and capsule-size identification; an unidentified part in a drawer is difficult to use during a stoppage.
Base stock levels on the site's own usage and lead times. Keep a record of what was replaced, why it was replaced, and whether adjustment or cleaning resolved the issue first. That record helps distinguish a genuinely recurring wear item from a repeated setup fault.
The most reliable order begins with a precise diagnosis and ends with a fit check. Identify the station, confirm the machine and capsule specification, then verify the part or matched change set against the equipment documentation. That process makes capsule filling machine spare parts easier to source and helps the line return to stable operation after installation.